
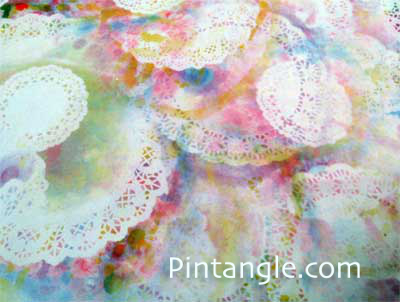
Did you know you can dye, print and paint synthetic fabrics with transfer dyes? This tutorial shows you how to use transfer or disperse dyes on synthetic fabrics. In this article I also show you how to use a stencil technique to print on synthetic fabrics especially synthetic fibers such as polyester, nylon, and acetate..
To dye fabric
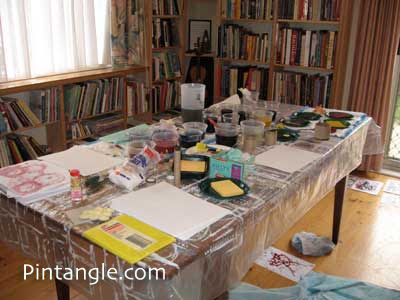
Disperse dyes are not difficult to use, simply follow the instructions to dye fabric or lace. Basically you dissolve the dye powder in warm to hot water. Read your instructions for quantities of dye to water. Different brands use different ratios. In a stainless steel pot add your fabric to the dye bath and let it simmer for 30-60 minutes. Stir the dye pot to promote even dying. Rinse thoroughly in warm water. I have found that this technique works but if you get very pale results you may need to a polyester carrier and/or a wetting agent which will be available from the same supplier that you purchase the dyes from. Usually I just use the dyes and have always been happy with the results.
To combine with printing and transfer techniques.
Using these dyes to colour fabrics is an obvious use but I like to combine printing techniques with the dyes to produce interesting back grounds to embroider on. A hand printed and dyed background is a great starting point for a project. Once I have a background you can choose stitches that marry with the marks on the fabric. If you need ideas browse the stitching area of the site here.
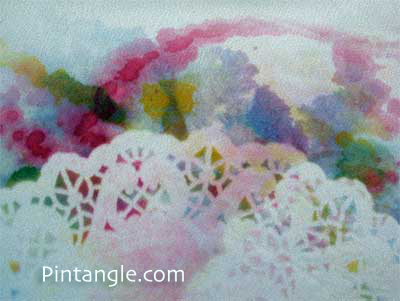
A creative use for these dyes is to paint them on paper and use an iron to transfer the dye from paper to synthetic fabrics. Since you are using paper you can make paper stencils easily and build up patterns and images on fabric.
First mix the dyes in cold water. They do not dissolve easily so stir them well. When I use this printing technique I use quite a heavy concentrate of dye. I use a flat teaspoon of powder to a cup of water makes a useful mix. I mix up a selection of colours and usually paint quite a few papers in one session.
Paint and print on paper.
The next stage is fun. On the paper you can draw pictures, make marks, symbols, geometrical motifs or what ever pops into your head. Or create lots of papers that are simply drips and dribbles on the paper. Follow the safety instructions supplied with the dyes but other than that you can be quite free. Any ugly bits on the paper that you really don’t like you can cut out before using the iron to transfer to fabric.
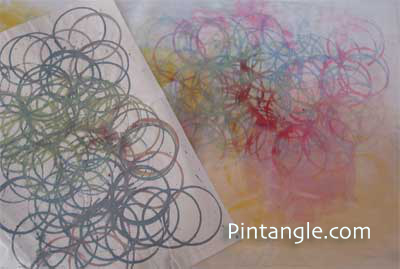
If you place a sponge soaked with dye in a shallow tray you can use this as a stamp pad and print images on paper. You can use cotton reels, carved vegetables, bits of net, bottle corks, card board rings, and anything you can think of to create a print. Above I used the end of a toilet roll to create a pattern rings. The paper looks dull but the transfer to fabric that you can see in the photo next to the paper is bright.
You can create all sorts of patterns and marks, paint, print, dribble, splatter and have fun on a selection of pages and let them dry. When the paper is completely dry place it face down on the fabric you want to print on. With the iron set on hot, iron the paper for between 20 and 30 seconds.
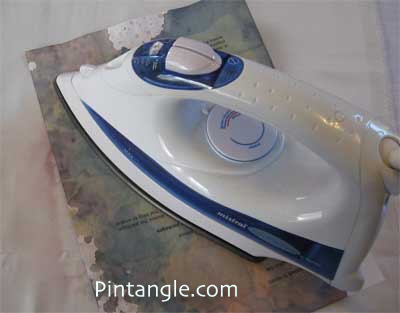
Make yourself a few stencils. All you need is simple shape that can act as a paper stencil.
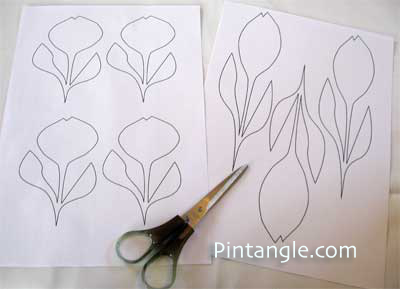
I am using unpainted paper to make my stencils as I like working with subjects in the negative, but you can make the stencils out of dyed paper too.
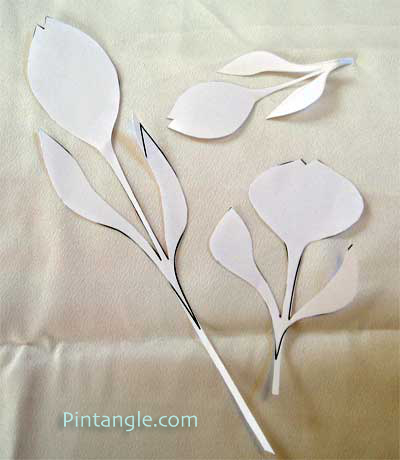
Cover the stencils with a sheet of painted paper. Make sure you place the sheet dye side down. With the iron set on hot, iron the paper for between 20 and 30 seconds. Move the iron carefully, as you do not want to shift the stencil underneath. Lift the edge of the paper to see if it is transferring. Keep ironing until the image has transferred. When you lift the paper off you have a dyed fabric.
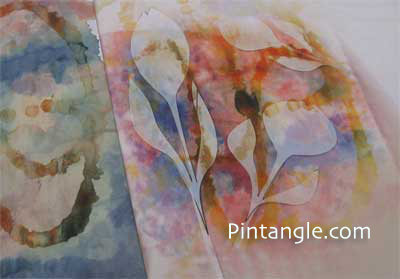
Remove the stencil and you can see the design clearly. In the photo above the paper is on the left and the stencils are still sitting on the fabric. Below is the piece of fabric printed.
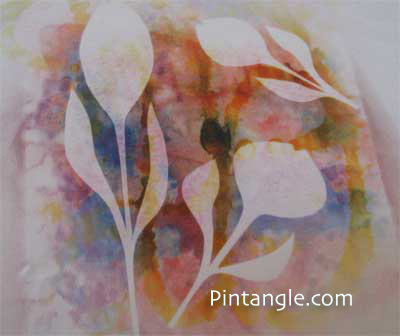
You build up quite large areas on piece of fabric by using this method. You can also build up imagery of multiple layers of colour, by using multiple papers. Transfer one colour, remove the sheet and then do another and so on until deep interesting textures and colours are built up.
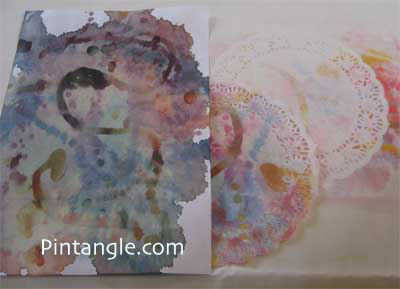
You can use all sorts of things as stencils such as paper doilys and lace. The image above is the painted paper after it has been used. The paper doily is being used as a stencil.
Remember that these dyes are for synthetic fabrics. Although I have used these dyes on a poly cotton blend with good results they are not made for use on natural fabric such as cotton, wool or silk. I have dyed cotton but the colours are not so vibrant and strong – but that might be what you want. Experimentation is always my suggestion. I obtain my transfer dyes from Kraftkolour in Australia. Please note I am not associated with this business in any way – just a happy customer of a couple of decades.
Hope you enjoy this technique. I think it is interesting simple and a lot of fun.
My New Book: Creative Stitches Volume 2 — Now Available
Explore a further 114 NEW hand embroidery stitches with clear, step-by-step photos, and practical, straightforward instructions for both left and right-handed stitchers! Try out inventive techniques, and gain confidence to play with stitches. Experiment with stitches and apply them to your own contemporary designs. My book is perfect for anyone who loves hand embroidery, crazy quilting, or slow stitching. And I have included loads of photos to inspire your creative journey.
Follow Pintangle and have it delivered to your inbox
You can have Pintangle delivered to your inbox — In the side bar use the Subscribe to Pintangle box or If you are on a mobile scroll to the bottom the of the page to find the Subscribe to Pintangle option. In either case type in your email address and click on the Subscribe button below. Then check your email inbox for a confirmation email and click the link to confirm your subscription. If you don’t see a confirmation email, check your spam folder — sometimes the computer puts it there.
