


Wheatear stitch is an easy yet versatile stitch that is often used to depict wild grasses and wheat, as in the sample above. This sample uses various forms of wheatear. Wheatear consists of two straight stitches worked diagonally in a V-like shape before a chain stitch laces together the stitches at the base.
This stitch will follow a curve, or you can work it in single units and arrange it in patterns. Since the structure of the stitch is simple — being a form of lacing between two stitches — the wear and tear on the thread you use is at a minimum. So, once you know and understand how to work it, you can easily experiment with a large variety of threads.
How to work Wheatear Stitch
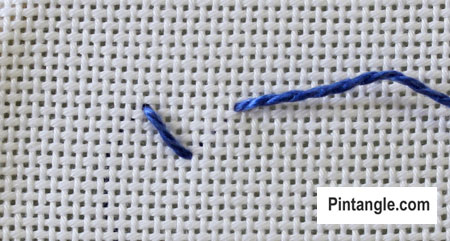
Work this stitch in a downward motion. Commence with a straight stitch worked at an angle.
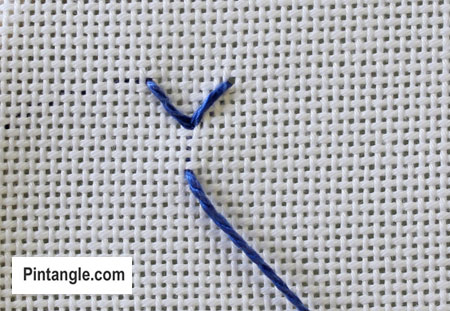
Make a second straight stitch, also worked at an angle. Ensure the base of the stitch meets the base of the first stitch. Bring your thread out a little below the base of the V.
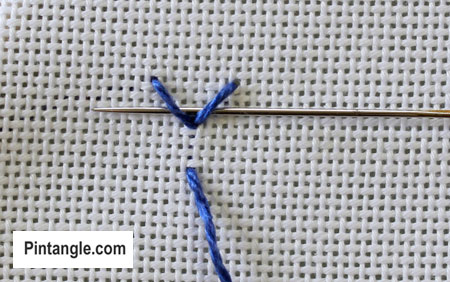
Pass your needle from right to left under the two straight stitches.
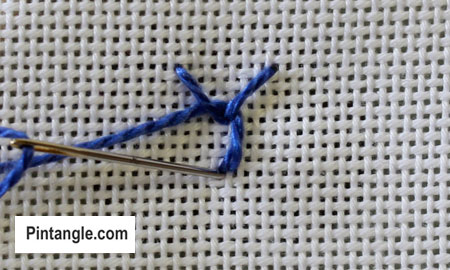
Pull your needle through and take it to the back of the fabric so that the thread loops in a single chain.
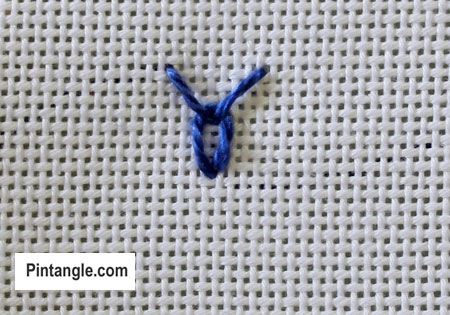
At this stage, you have a single detached wheatear stitch, and you can arrange these units in patterns. See the sample below.

Add another diagonal stitch.
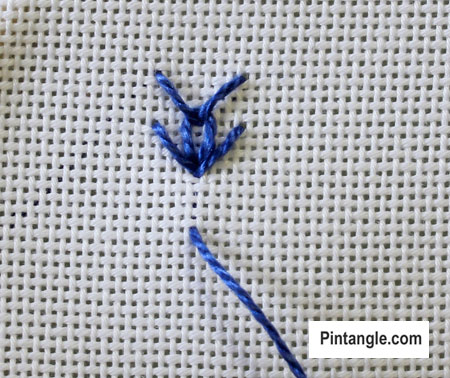
Add a second diagonal stitch and bring your thread out further down the line.
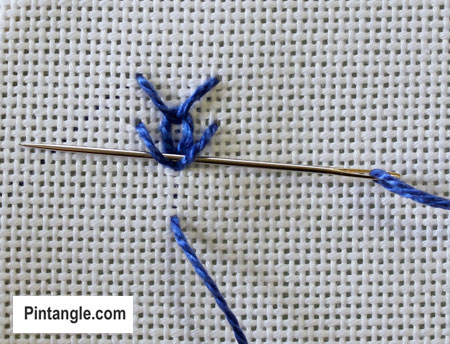
Pass your needle under the two diagonal stitches to create the chain-like loop and continue in this manner down the line.
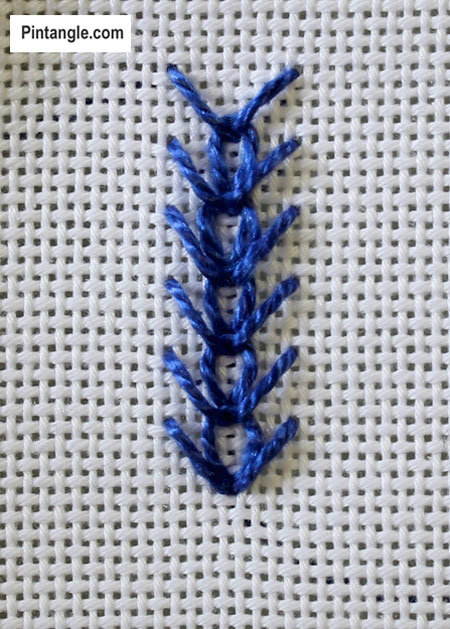
Wheatear is a versatile stitch, as you can vary the length of the diagonal straight stitches. Use it for beading, or you can use any of the many different types of embroidery thread. You can also work with single units of the stitch and arrange them in patterns.
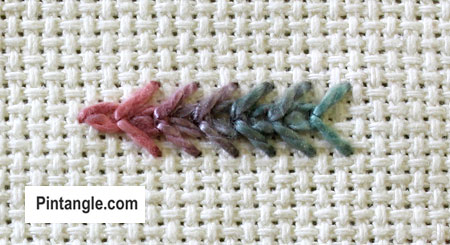
Wheatear also lends itself to hand-dyed and variegated threads. In this sample, I used 1-ply of Caron Watercolour thread on Aida.
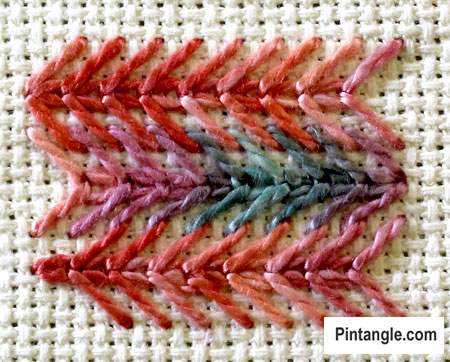
In this sample, I stacked row upon row and worked to create a pattern. I worked rows in both directions and lined them up so they slightly overlap. This method covers enough of the foundation fabric to use it on canvas as a needlepoint stitch.
You can easily lace Wheatear stitch or thread it, and you can use the rows to couch down other threads. Some very interesting effects can be built up this way.
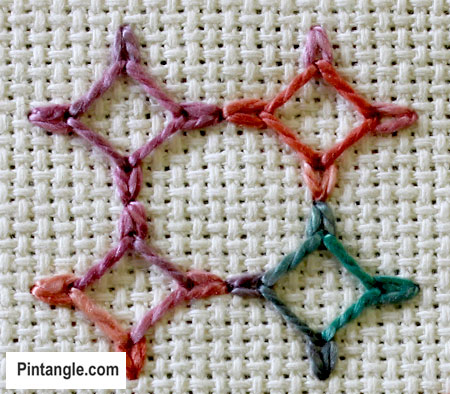
Single detached Wheatear stitch can also be worked in a square. In this sample, I have worked 4 squares, building up a pattern. You could easily infill with other stitches, such as satin stitch, or add beads to build up the patterning.
In this last sample, I have used the stitch on a Crazy Quilt Block.
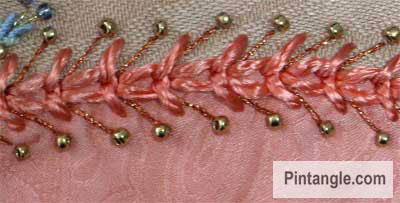
I used a silk thread and added extra straight stitches in a metallic thread, then topped it off with a bead.
Have you seen my Stitchers Templates?
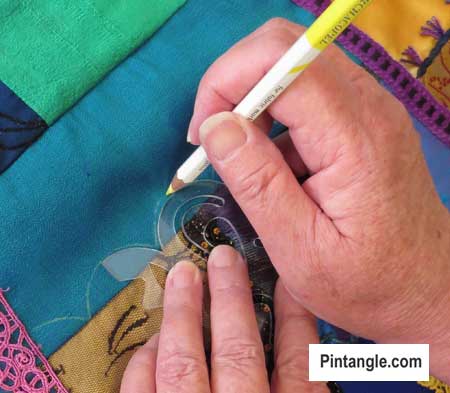
Create your own designs with Sharon’s easy-to-use stitchers templates. Combine shapes to create hundreds of patterns and designs to embroider. It is the ultimate mix-and-match fun for stitchers of all skill levels. I created them to be as versatile as possible. I include four multi-patterned templates in each set. You will find them easy to use, totally clear to help you position them on your work, and they are nice and compact to fit in your sewing box. Each set comes with an e-book filled with patterns and designs that you can create and use as a jumping-off spot for your own designs. They are available now in our shop here!
Happy stitching!

2018 TAST Stitch #23: https://www.thecrafties.com/2018/12/tast-roundup-3/
Thanks, Sharon!
-C
Completing this month’s TAST – my wheatear stitches are done on paper.
http://sandysnowden.blogspot.co.uk/2015/11/stitch-on-it-14-17.html
Sandy in the UK