
Back Stitched Herringbone is a variety of Herringbone that is actually a composite stitch that combines Herringbone and Back stitch. I have only recently started to play with this stitch, and it has fast become a favorite. It is quick and easy to work, which makes it a great stitch for beginners, yet it is versatile enough to be interesting for experienced stitchers. The stitch structure lends itself to many adaptations. For instance, it can be laced worked in rows face to face or slightly offset. Back Stitched Herringbone holds a curve, and you can vary the arms of the stitch to fill shapes, and it has ‘feet’ that can be beaded easily. It is a wonderful stitch to use if you want to couch down ribbon. You can use it in surface embroidery, and it makes a great seam embellishment stitch in crazy quilting.
Since Back Stitched Herringbone is a variety of Herringbone, it makes sense that you need to be familiar with Herringbone. If you need a reminder here is a tutorial. You will also need to know Back stitch. I have a tutorial here for that stitch too! You will find it here.
How to work Back Stitched Herringbone
Work Back Stitched Herringbone from left to right along parallel lines. If you need to mark the lines, make sure you use a disappearing fabric marker that will either disappear with water or be air-erasable. Back-stitched herringbone will hide only parts of the line you mark.
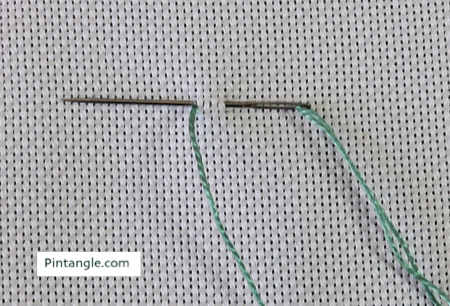
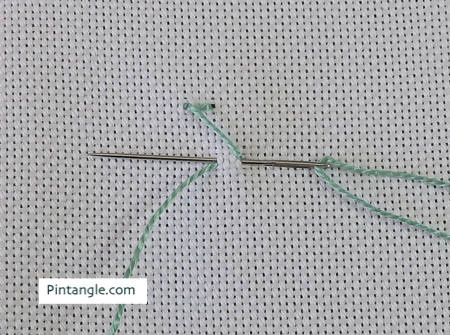
Commence by bringing the needle out on the top left-hand side of the line to be worked. Insert the needle a little further along the line and make a small back stitch as illustrated.
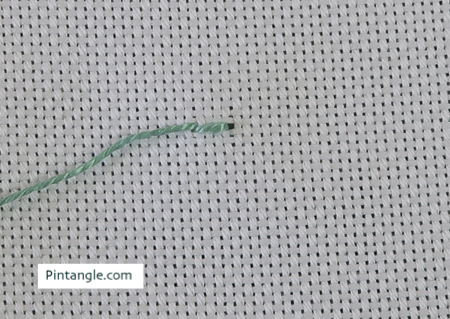
Pull the needle through the fabric. Your stitch will look like the photo above.
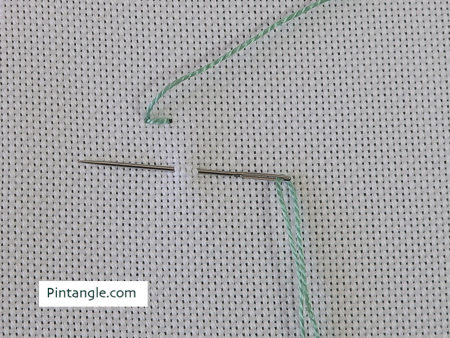
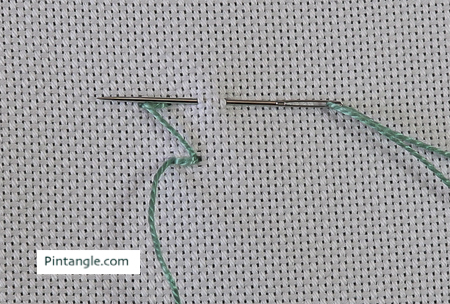
Take your needle to the lower line and make a small stitch that points to the left, and pull the thread through.
Make a back stitch as illustrated.
Insert the needle on the upper line a little to the right as illustrated, making a small stitch that points to the left. Pull the thread through.
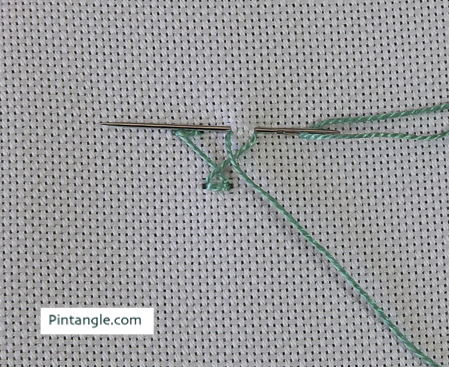
Make a back stitch as illustrated.
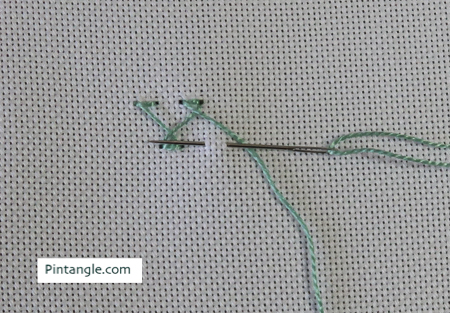
Take your needle to the lower line and repeat the same up-and-down steps until you have finished the line.
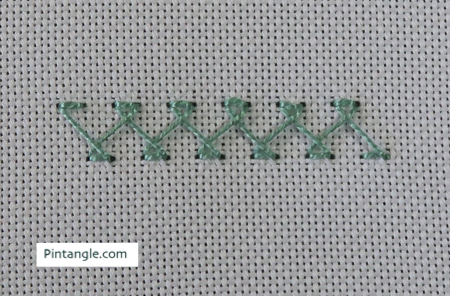
A line of Back Stitched Herringbone. I hope you enjoy this stitch!
My New Book: Creative Stitches Volume 2 — Now Available for Preorder
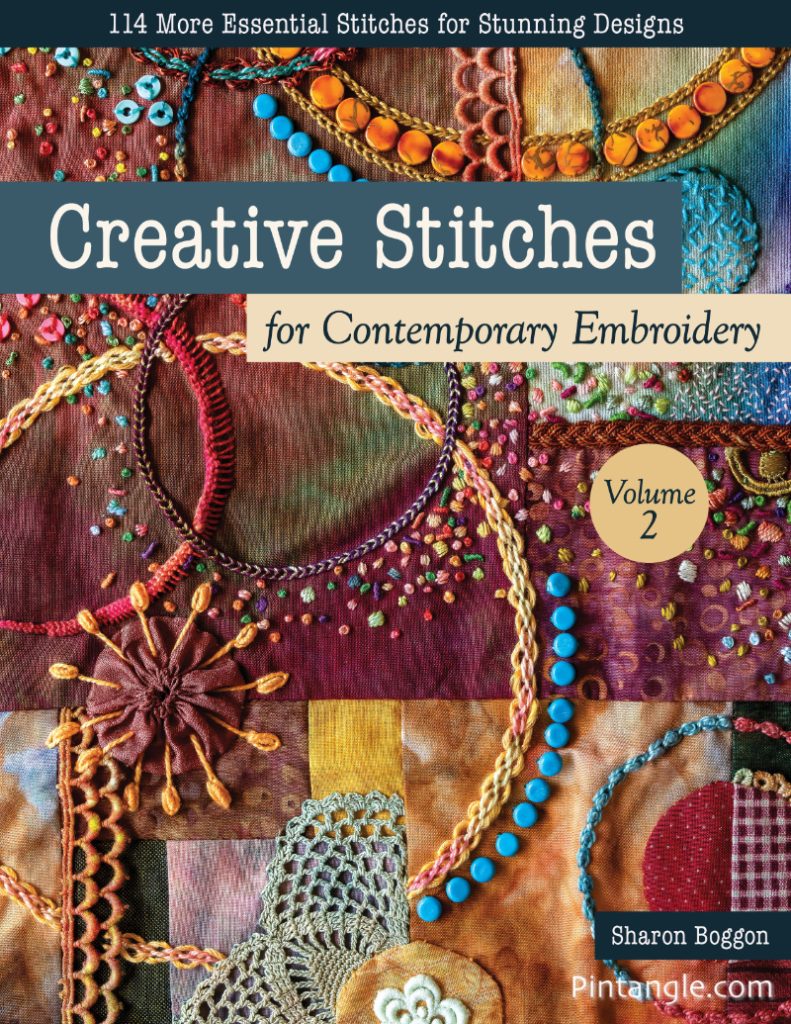
Explore a further 114 NEW hand embroidery stitches with clear, step-by-step photos, and practical, straightforward instructions for both left and right-handed stitchers! Try out inventive techniques, and gain confidence to play with stitches. Experiment with stitches and apply them to your own contemporary designs. My book is perfect for anyone who loves hand embroidery, crazy quilting, or slow stitching. And I have included loads of photos to inspire your creative journey.
Now available for pre-order 🙂

A great stitch, I am sure it will be a favourite of mine, too.
Based on it, many patterns can be made by combining other stitches. It is perfect for crazy quilting, isn’t it?
I love your work!! I want to do a crazy quilt dresden plate. But, have a question on how to get started. Do I make it by attaching it piece by piece to the foundation fabric or do I make the dresden plate and then attach it to the foundation fabric?