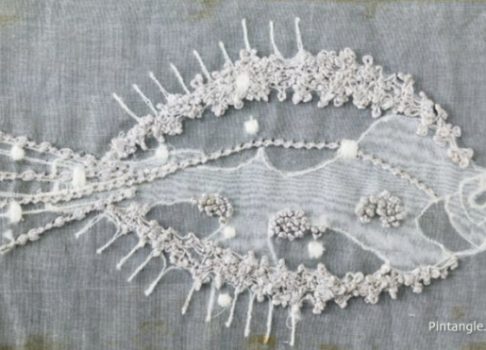
The Blue Tote bag is Finished!
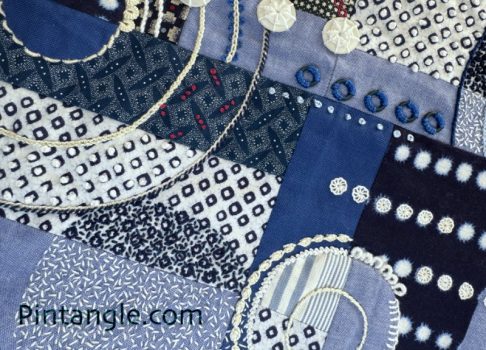
My blue tote is finished. Well actually the tote is blue and white with a dash of red to make it pop. I assembled it last week and took it to a craft fair yesterday and got so many spontaneous comments that I decided to share it here. Over a …