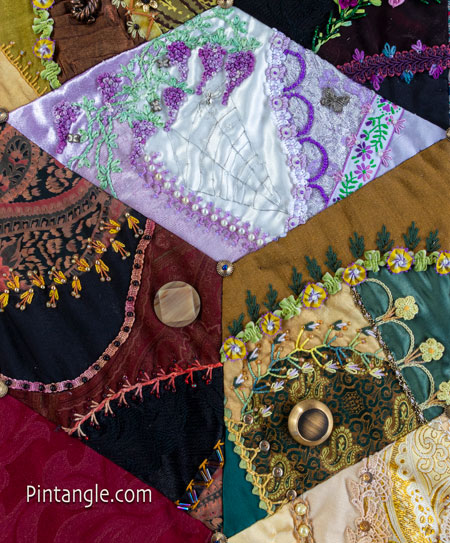
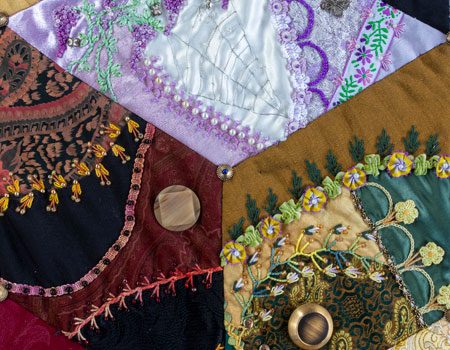
Tumbling block 15 sits fourth row down on the left hand side of the Diamonds are forever quilt.
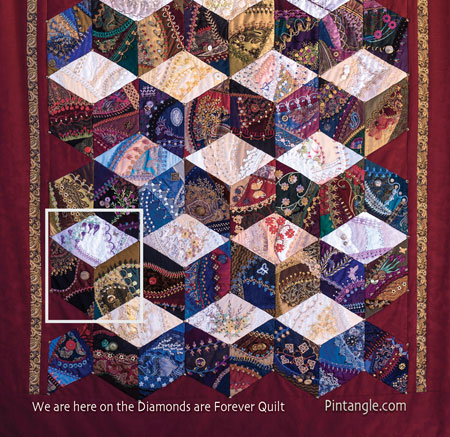
You can download the patterns for the three diamonds that make up the block. Here is light tone diamond, the mid tone diamond, and the dark tone diamond.
Please remember that the pdfs have NO seam allowances but are to scale. Set your printer to print to the actual size. Do NOT use the ‘fit to page’ option as it will reduce the diamonds by half an inch or so. When you print them out, they should have 6-inch sides. I strongly suggest you to use Adobe Acrobat™ as a PDF reader (it’s free).
When embellishing, feel free to follow what I have done, OR adapt my ideas to your liking. Embellish the blocks as you see fit and have fun and there are no rules in Crazy Quilting!
Tips for Tumbling block 15
As usual stitches mentioned in the article are linked to tutorials usually in the Stitch dictionary so people can know how to work them.
Give yourself a generous seam allowance when you stitch and keep beads away from the edge. So, when you piece the diamonds into blocks on your sewing machine you do not break your sewing machine needle on the beads.
When foundation piecing your diamonds try and make sure that you don’t have a seam ending at one of the points of the diamond. When you come to piecing your diamonds into blocks you don’t want to be dealing with bulky diamond tips or corners.
If you need a tutorial on curved piecing take a look a tutorial written by Allison Aller. You can find Curved Foundation Piecing here.
Light toned Diamond for Tumbling block 15
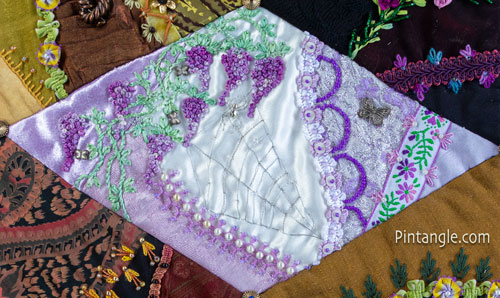
The PDF for the Light toned Diamond Tumbling block 15 it is here.
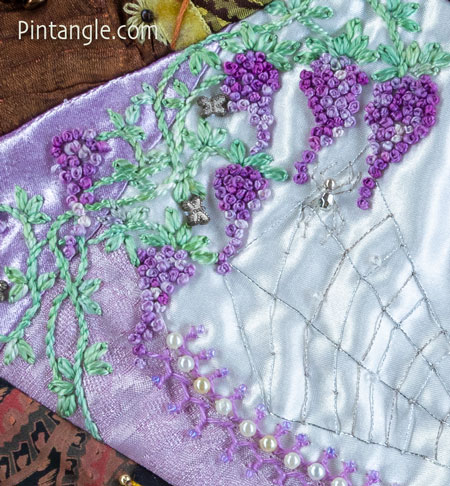
This Diamond features a spider and spiderweb a a tradition that dates from the Victorian period. Ladies of the time always added a spider and web to their crazy quilts as it was thought to bring good luck. The web was made using a silver metallic thread and the spider’s body and head are two silver beads. The spiders legs are straight stitches worked using the same metallic thread. The spider has made his home in a Wisteria vine with the flowers made of French Knots worked in silk thread. I used Detached Chain stitch work in a green silk thread to create the foliage. Stem stitch in the same silk thread for the stems of the vine.
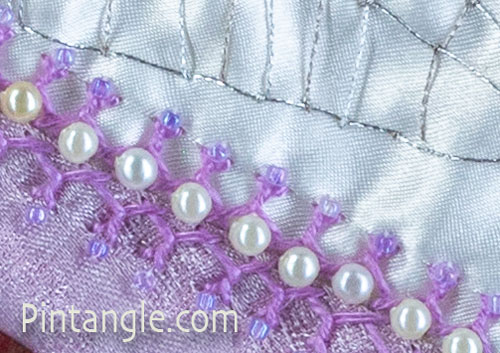
Two rows of Breton Stitch in cotton perle #5 is worked back to back along the seam between patch 1 and 2. Beads were added down the center and seed beeds to the ‘top’ of the line.
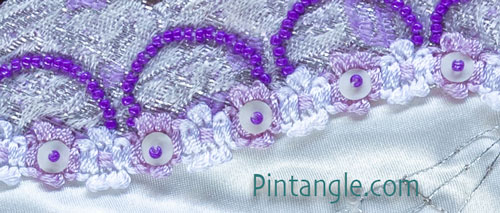
A commercial braid covers the the seam between patch 1 and 4. Next I added a line of sequins secured by seed beads. Using my stitchers templates, I traced off the scallops using a water-dissolvable pen. I used this as a guide for a line of purple seed beads.
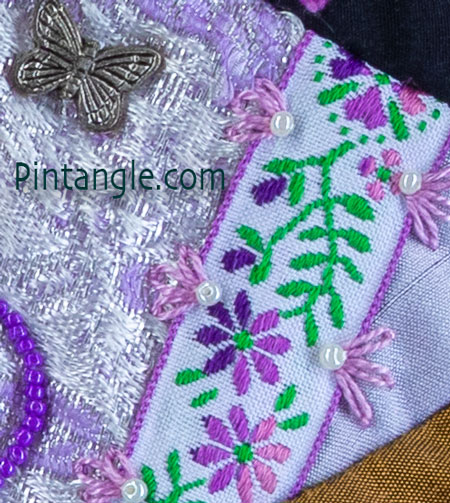
The last detail on the light diamond is another commercial braid that hides the seam. I used Detached chain stitches arranged in a fan before adding a seed bead to each motif.
Mid toned Diamond for Tumbling block 15
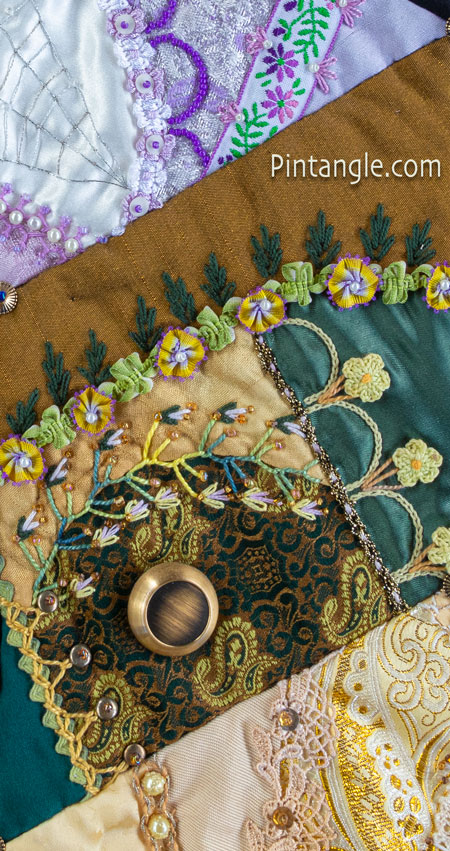
The PDF for the Mid toned Diamond on Tumbling block 15 is here.
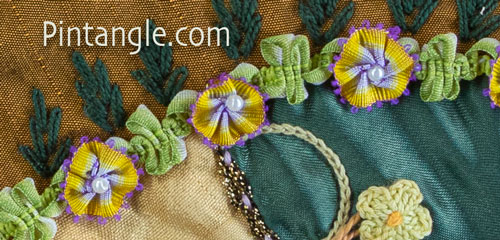
Along the edge of patch 4 I covered the seam with a commercial braid before adding 5 Detached Chain stitches using cotton perle #8. A nice and simple seam treatment!
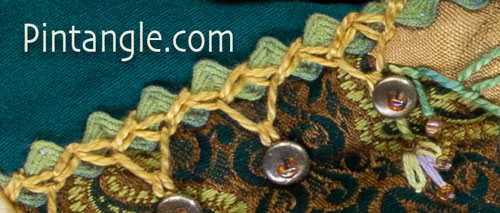
This embellishment on the Mid toned Diamond is a little more complex. Along the side of patch 5, I stitched down some green ric-rac before embellishing it with Zig-zag Chain stitch. I then worked a line of Tete de Boéuf stitch along the edge before adding some disk beads secured with a seed bead.
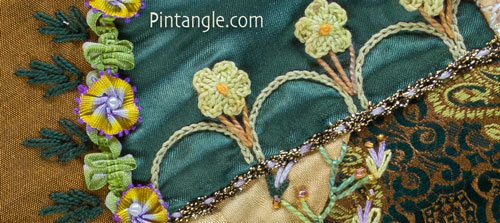
Using my stitchers templates, I traced off the scallops, using a water-dissolvable pen. I then worked then in Chain stitch in cotton perle #8. I used 3 straight stitches between the scallops before stitching on the small crochet flowers. Along the base of the scallops is a novelty thread that I couched down.
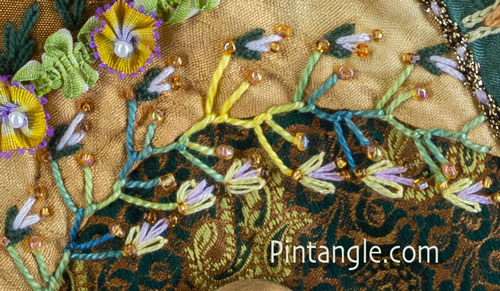
The last detail I want to draw your attention to is a line of irregular feather stitch worked in a hand dyed variegated perle #5 thread. To the end of the outer arms I added two Detached chain stitches and 2 straight stitches before adding seed beads.
Dark toned Diamond for Tumbling block 15
The PDF for the Dark toned Diamond Tumbling block 15 is here.
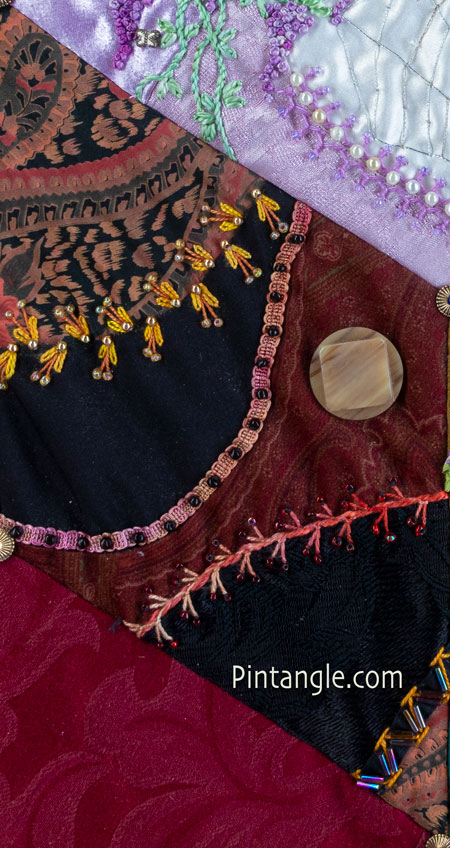
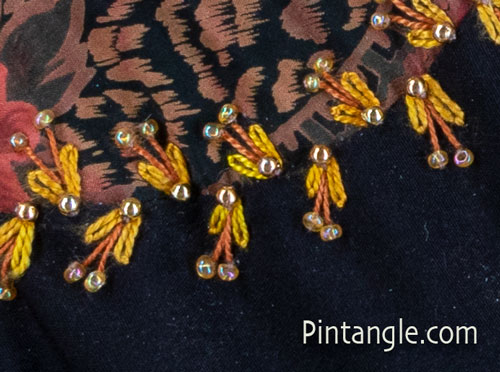
The Dark toned Diamond is embellished in a relatively easy way. The seam between patch 5 and 1 is a line of two Detached chain stitches and 2 straight stitches before adding gold seed beads.
The seam between patch 1 and patch 2 is covered with a thin braid and secured with black seed beads.
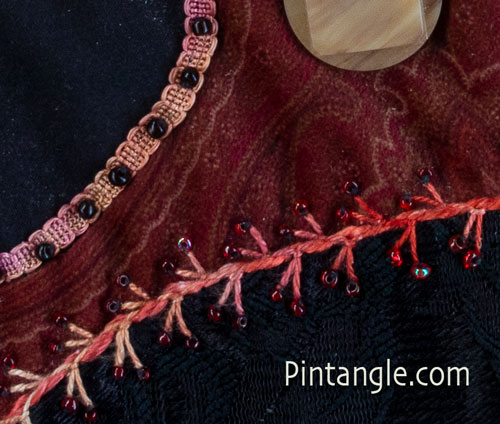
A line of Feathered Up and Down Buttonhole Stitch here is worked first in a silk thread that is about the same thickness at cotton perle #5. I laced it with second thread before adding red seed beads.
If you are stitching along please share what you do in either of the Crazy Quilt Divas and/or Crazy Quilt International groups on Facebook.
The quilt is on the front of two of my books: The Visual Guide to Crazy Quilting Design and my new book Crazy Quilting for Beginners Handy Pocket Guide. You do not need my books to join in on this stitch along, but I strongly recommend that you have at least the pocket guide, if not the full Visual Guide to Crazy Quilting Design.
Previous blocks in the series
Guidelines and general information about the series:
Tumbling Block 1;
Tumbling Block 2;
Tumbling Block 3;
Tumbling Block 4;
Tumbling Block 5;
Tumbling Block 6;
Tumbling Block 7;
Tumbling Block 8;
Tumbling Block 9:
Tumbling Block 10:
Tumbling Block 11:
Tumbling Block 12:
Tumbling Block 13:
Tumbling Block 14:
Tumbling Block 15:
Tumbling Block 16:
Tumbling Block 17:
Tumbling Block 18:
Tumbling Block 19:
Tumbling Block 20:
Tumbling Block 21:
Follow Pintangle and have it delivered to your inbox
You can have Pintangle including TAST delivered to your inbox — just type in your email address and click on the Subscribe button below. Then check your email inbox for a confirmation email and click the link to confirm your subscription. If you don’t see a confirmation email, check your spam folder — sometimes the computer puts it there.
I hope you enjoy this tumbling block.
Follow Pintangle and have it delivered to your inbox
You can have Pintangle including TAST delivered to your inbox — just type in your email address and click on the Subscribe button below. Then check your email inbox for a confirmation email and click the link to confirm your subscription. If you don’t see a confirmation email, check your spam folder — sometimes the computer puts it there.
The next tumbling block in the series will be on April 11th. (I publish a block monthly, usually it’s the second Thursday of the month).
Thread Twisties!
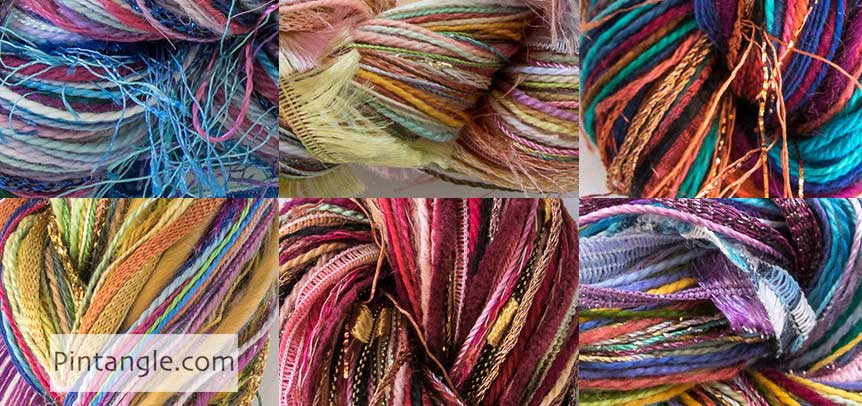
Experimenting with different threads can be expensive. You would normally have to buy a whole skein of each type of thread. My thread twisties are a combination of different threads to use in creative hand embroidery. These enable you to try out stitching with something other than stranded cotton. For the price of just a few skeins, you can experiment with a bundle of threads of luscious colours and many different textures.
These are creative embroiders threads. With them, I hope to encourage you to experiment. Each Twistie is a thread bundle containing silk, cotton, rayon and wool. Threads range from extra fine (the same thickness as 1 strand of embroidery floss) to chunky couchable textured yarns. All threads have a soft and manageable drape. Twisting them around a needle makes experimental hand embroidery an interesting journey rather than a battle. Many are hand dyed by me. All are threads I use. You may find a similar thread twist but no two are identical.
You will find my thread twisties in the Pintangle shop here.


Need a little advise or suggestions. Has anyone made a french knot using DMC Diamant Grande (gold) ? I am working a piece that has stamen dots in a flower Any help will be appreciated
Mary I have used that thread and worked French knots using that thread I admit it is tricky however. It is always best is to try it on some scrap fabric and see. If you have trouble try running the thread over some beeswax. Good luck and have fun
Thank you, I wrapped he tread twice but it seemed to stand up a bit too high, after pulling the tread over bees wax I thought it too dull. Just thought I was doing something wrong.
Truly enjoy the crazy quilt stitching–so creative
Happy Easter
Mary
Wow.I found out the problem! Thank you , Judy
I can not get the pictures to come out on the printout!
Hi Judy the images are Ok to print so it is probably a setting in your printer or your browser sorry I can’t be of more help.